
Installation Guide
This document provides step-by-step instructions to install and configure the Safecube package in your Salesforce environment.
NoteThis installation and configuration process needs to be completed only once per Salesforce instance.
For more information on using the Safecube application within Salesforce, refer to our guide.
1. Install the Safecube Package
To begin, install the Safecube package using the following link:
You will be prompted to:
- Log in to your Salesforce environment.
- Confirm installation of a non-Salesforce application.
- Authorize
api.sinay.aito send data to Salesforce for container tracking integration.

2. Assign the Permission Set
After installing the package:
- Assign the
Safecubepermission set to all users who need access.
Steps:
-
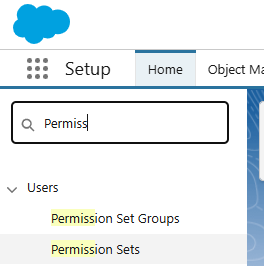
Navigate to Setup in Salesforce.
-
In the Quick Find box, type Permission Sets and select it.
-
Click on the
Safecubepermission set.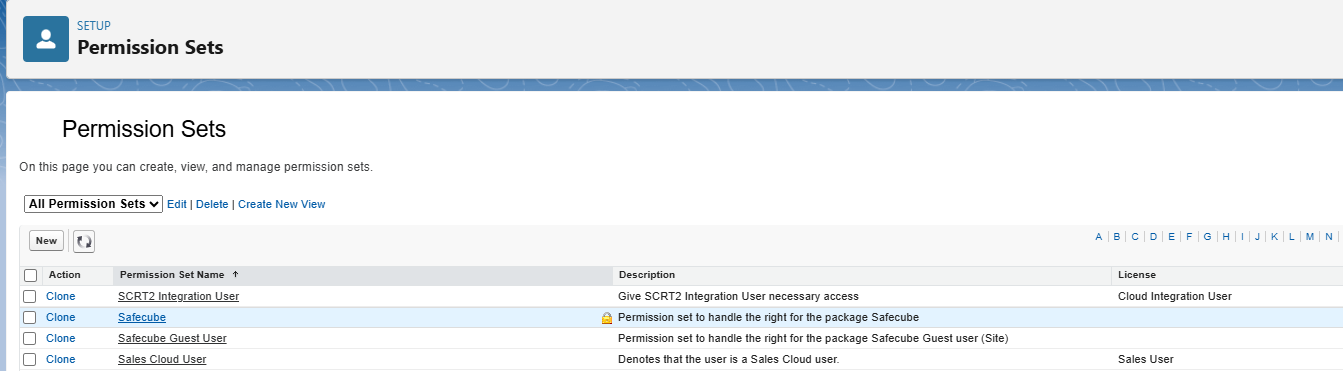
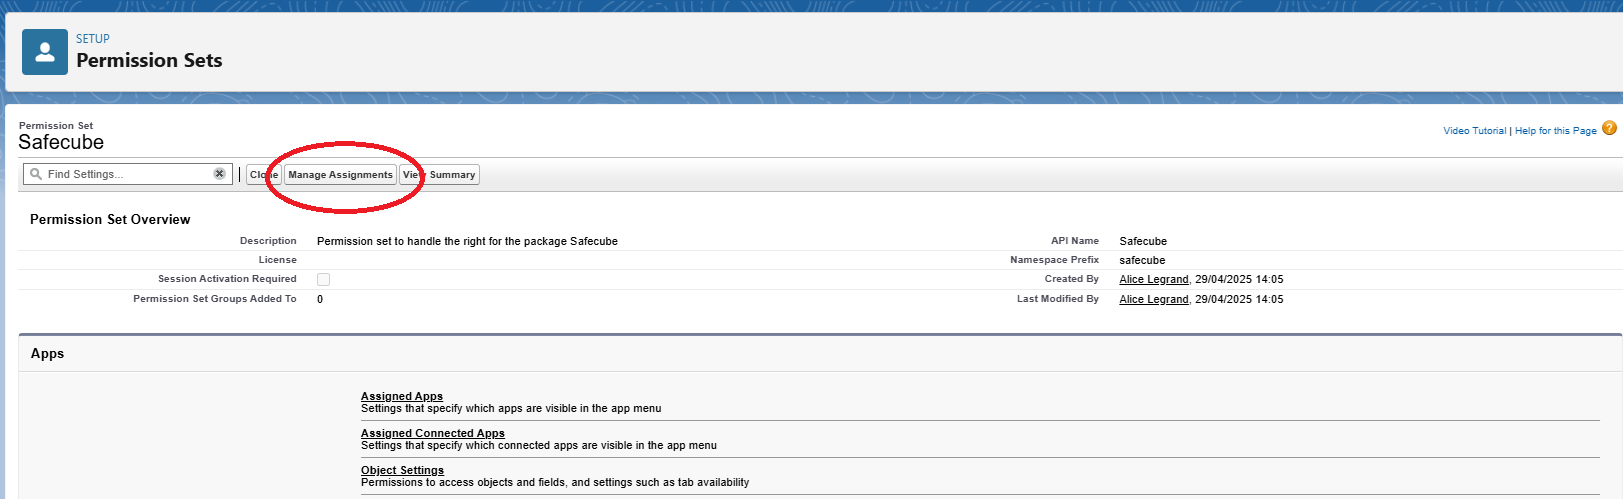
-
Click Manage Assignments.
-
Click Add Assignments.

-
Select the users who need access and click Next, then Assign.
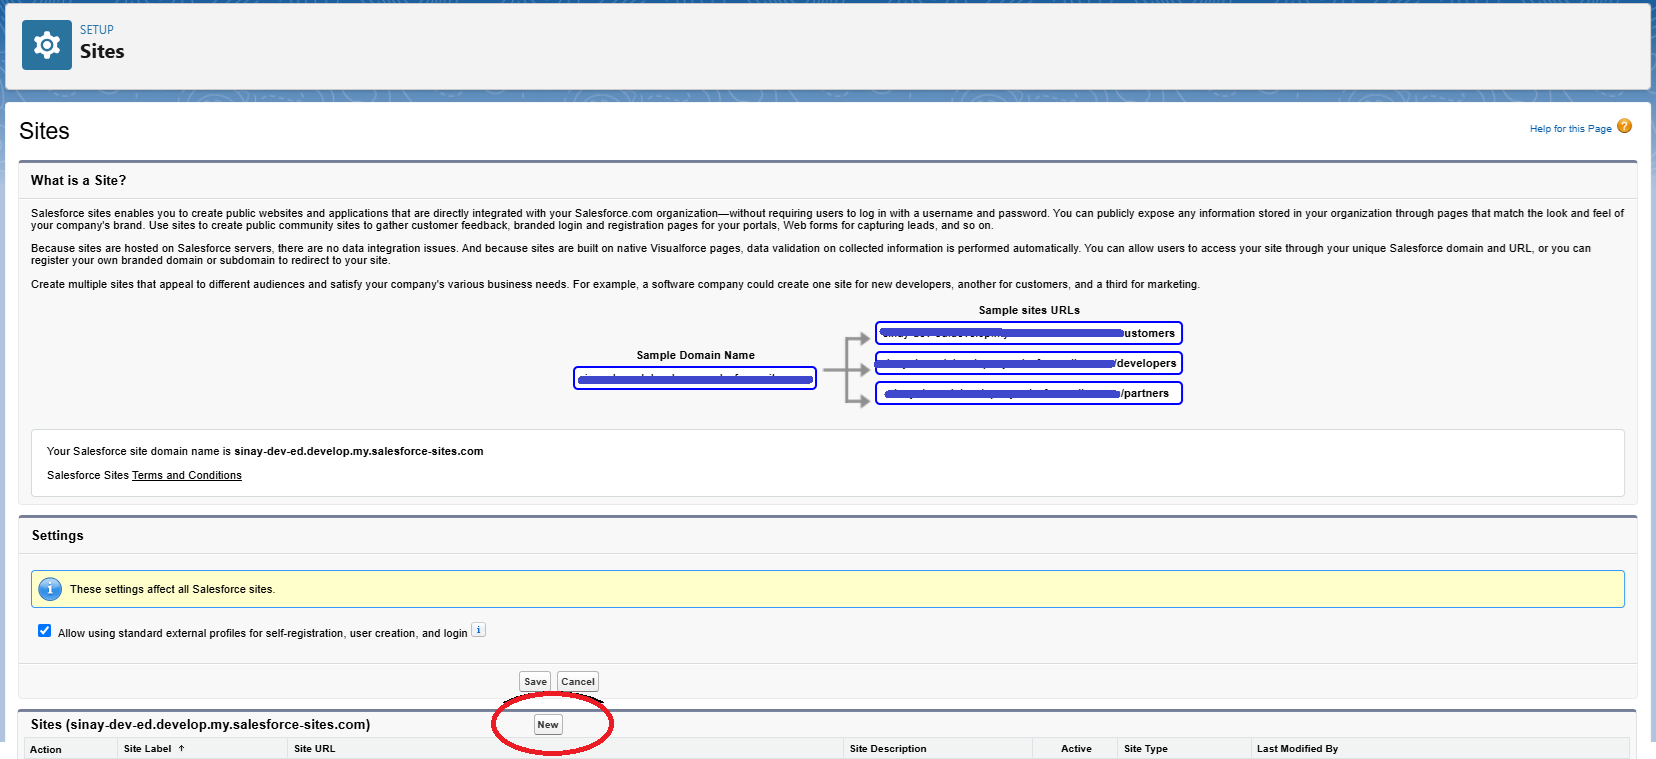
3. Activate the Site to Obtain a Public URL
Salesforce requires a public site URL for external integrations.
Steps:
-
Go to Setup in Salesforce.
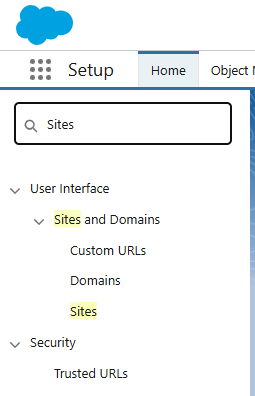
-
In the Quick Find box, type Sites and select it.
-
Click New to create a new site.
-
Fill in the required information:
-
Site Label:
Safecube -
Site Name:
Safecube -
Default Web Address:
Safecube -
Active: ✅ (Make sure this is checked)
-
Active Site Home Page:
Unauthorized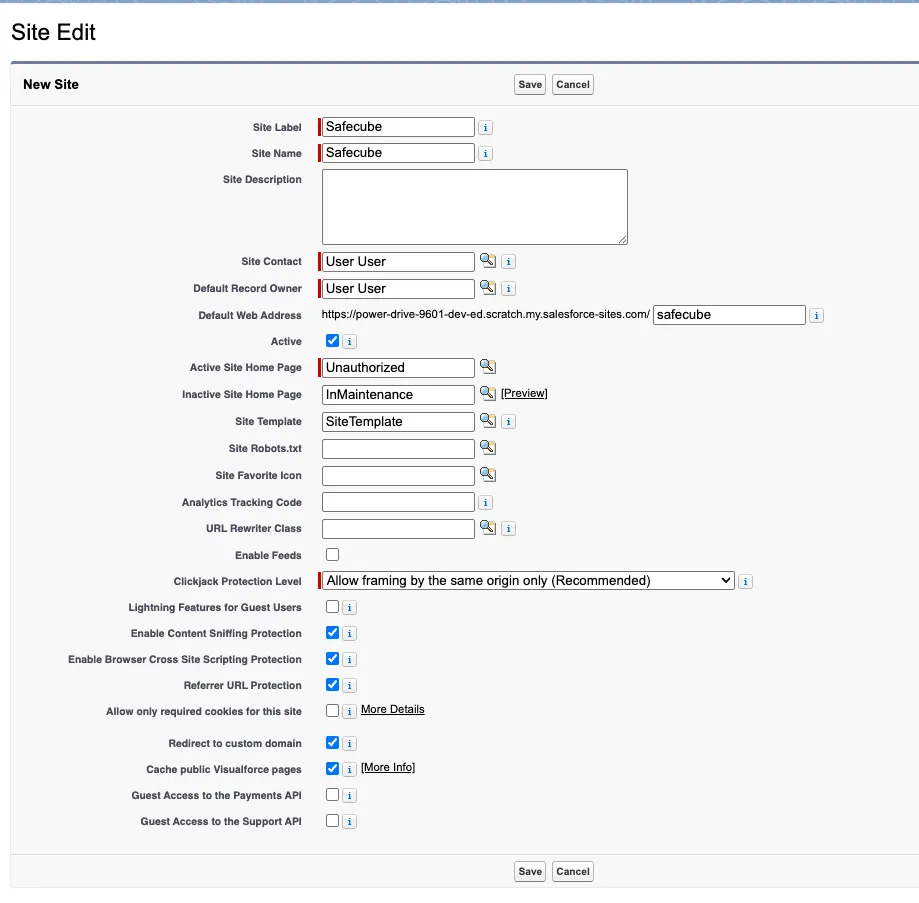
-
-
Click Save.
4. Assign technical Guest User Permission Set
You must assign a Guest User, that will have permission on Safecube application settings (including API key).
Steps:
-
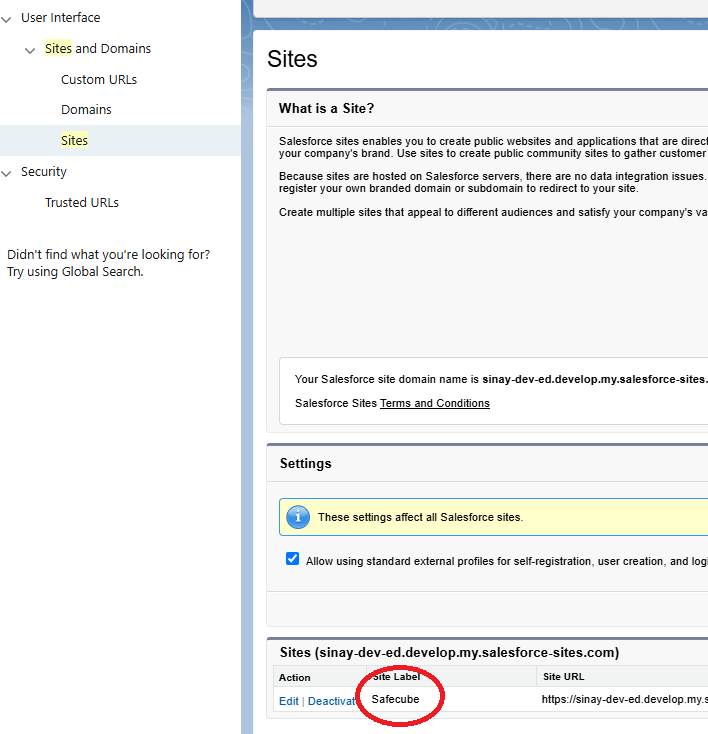
In the Quick Find box, type Sites and select it.
-
Find the Safecube site, and clic Safecube
-
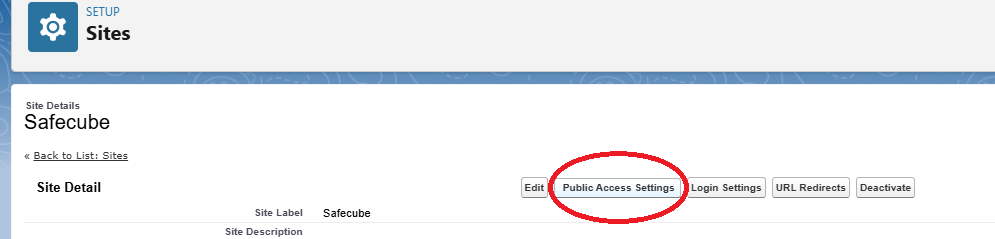
Select Public access Settings
-
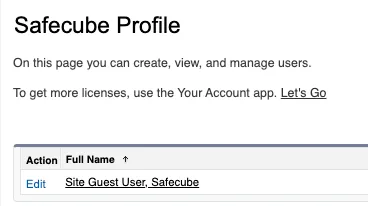
Select View Users
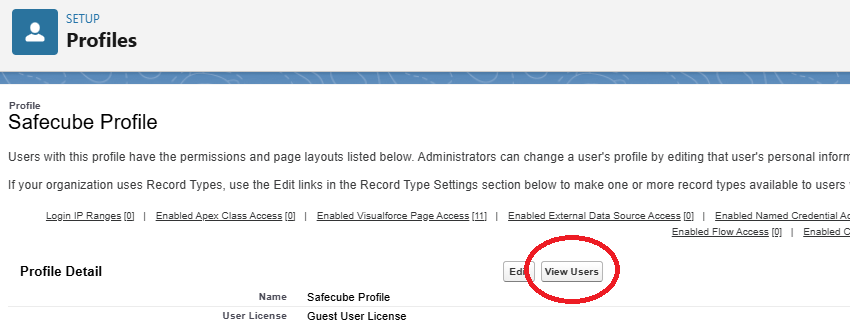
-
Clic Site Guest User
-
Select Permission Set Assignment and then Edit Assignments
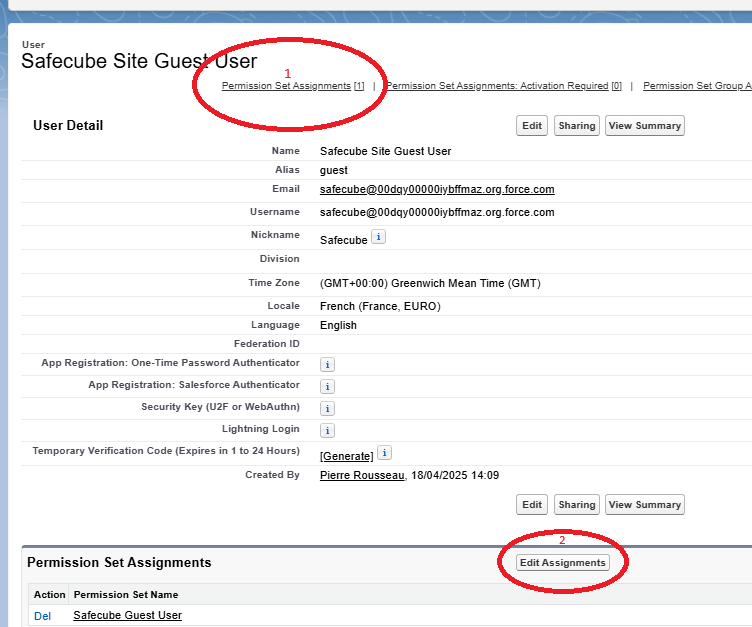
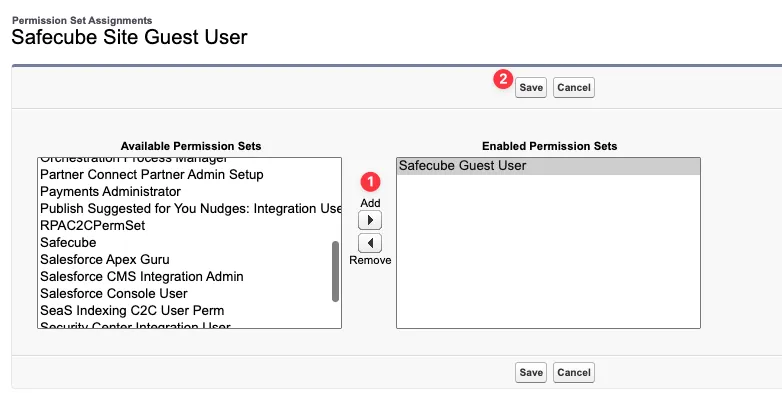
-
Search Safecube Guest User, Click Add and then Save
5. Configure your API key
The API Key is necessary to give you the rights to access container tracking data.
Steps:
-
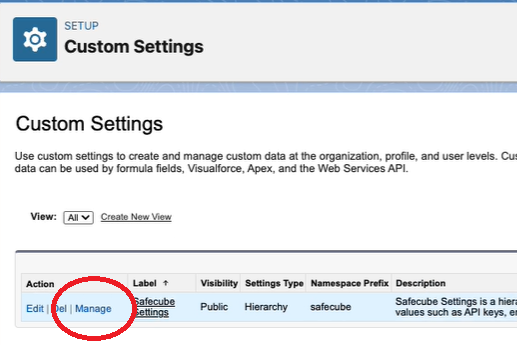
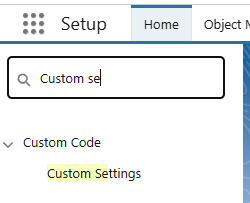
In the Quick Find box, type Custom Settings and select it.
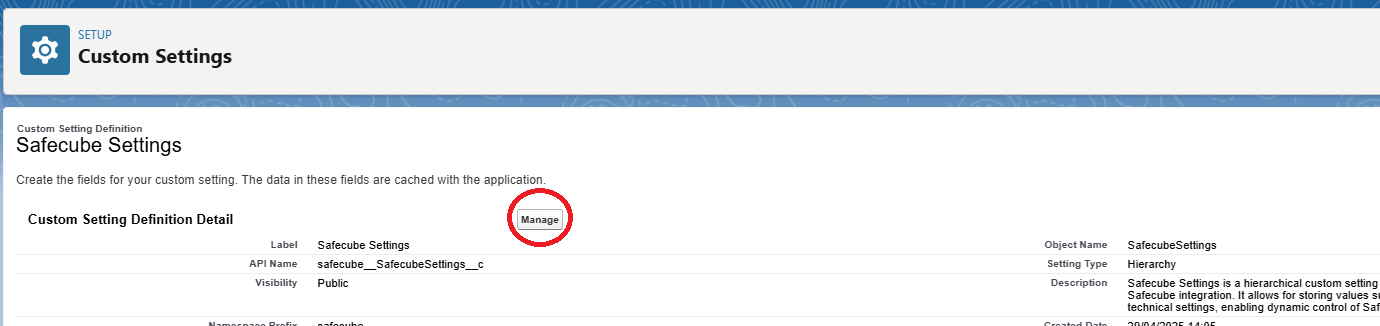
-
Next to "Safecube Settings", select Manage
-
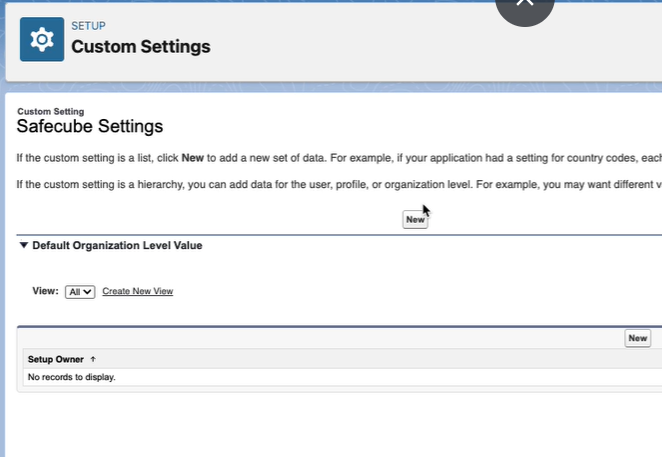
Select New
-
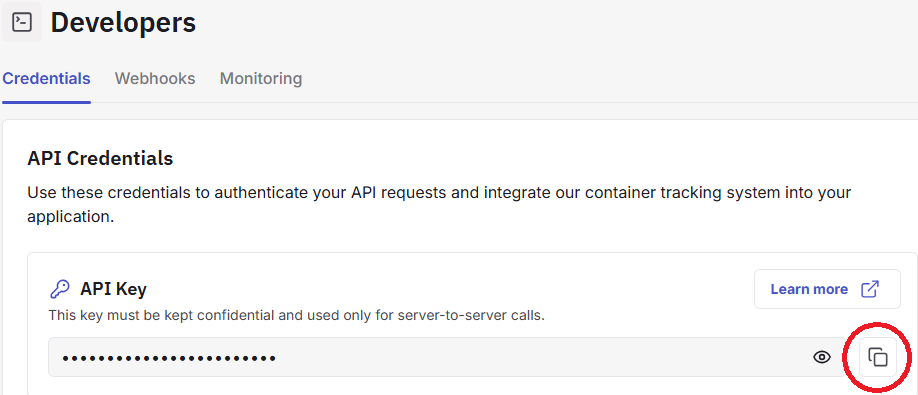
In another browser tab, look for your API key in Safecube app and Copy your API key.
-
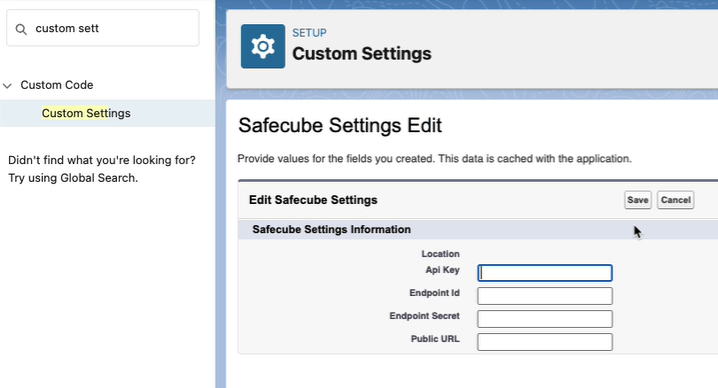
Back to Safecube Settings in Salesforce, paste the API key in the API Key field, and Save
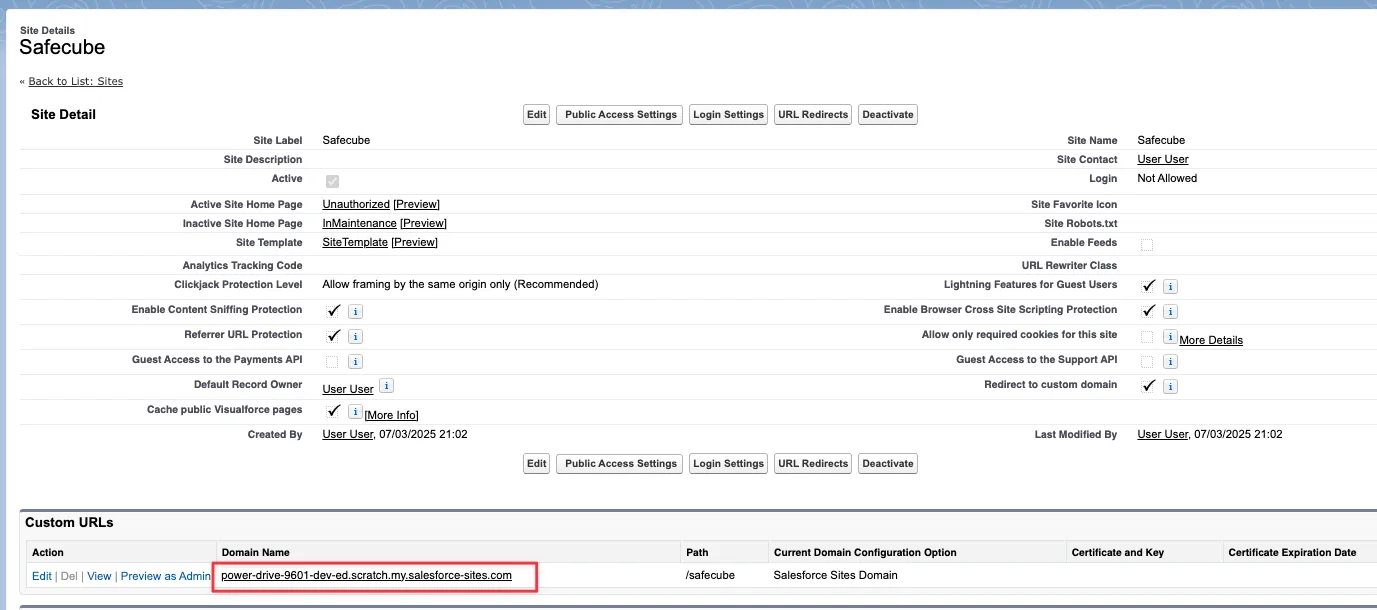
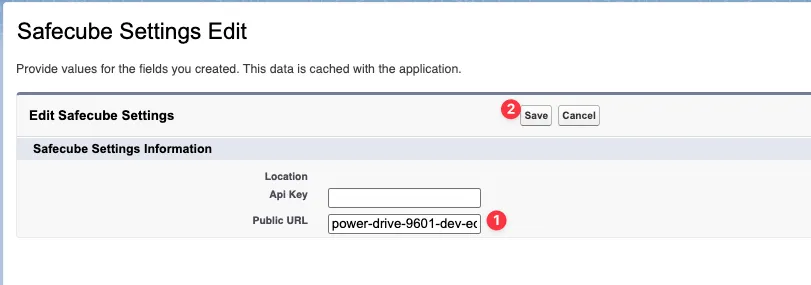
6. Set up Safecube public URL
We will use this public URL to send the tracking information to your salesforce instance.
Steps:
- In the Quick Find box, type Sites and select it.
- In Safecube, Copy the Domain Name
Get the correct urlDon't select it and copy the selection : this will not work (you won't be able to create your endpoint in step 7).
Instead right-click and select "Copy link address".
-
In the Quick Find box, type Custom Settings and select it.
-
Select Safecube Settings
-
Select Manage
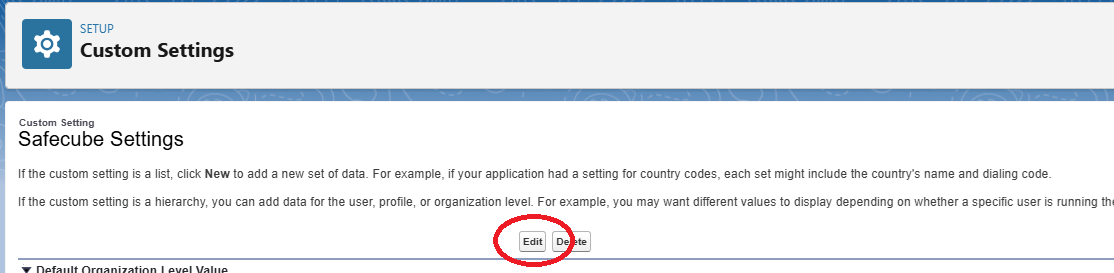
-
Select Edit
-
Paste the Public URL you copied in step 2, and Save
7. Activate the endpoint
Steps:
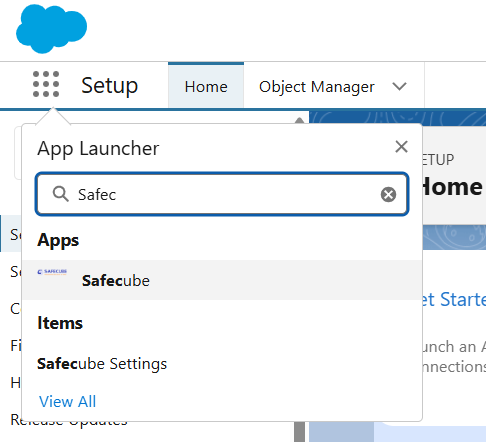
-
Open App Launcher, and then the Safecube application.
-
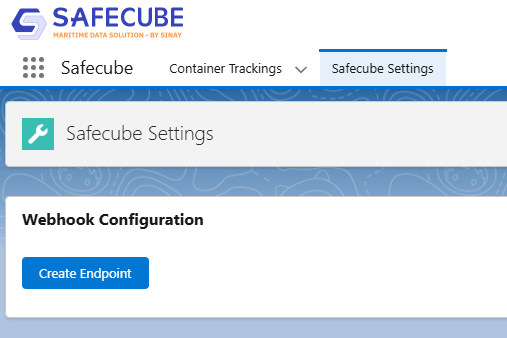
Select the Safecube Settings tab.
-
Select Create endpoint
Congrats !You have completed the installation procedure. You can now proceed to using the Safecube Container tracking app in your Salesforce instance.
Need Help?
If you encounter issues or have questions, feel free to reach out to our support team.