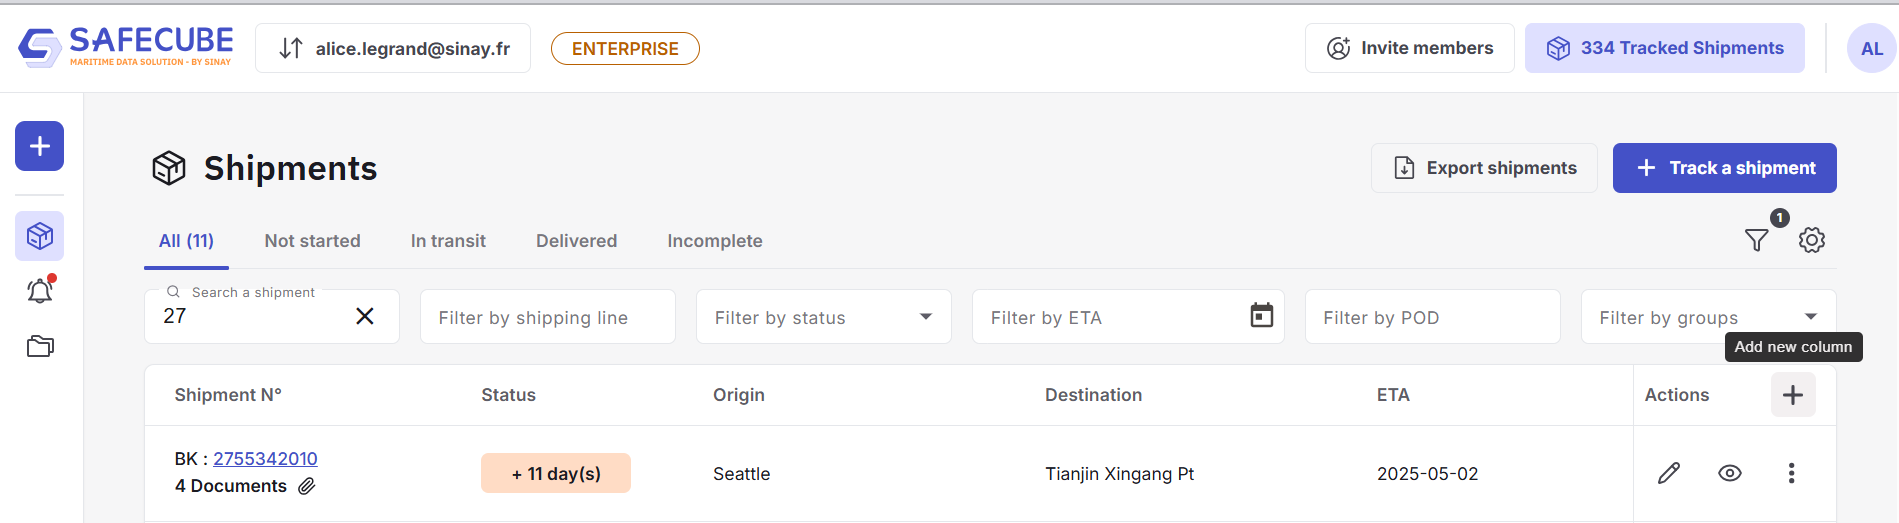
Adding Data to Your Shipment List
Add columns, hide them, change the order.
Safecube provides built-in container tracking data, but you might want to add more context — such as:
- An internal reference
- A client number
- The name of the person responsible
- A status
- Comments
- Details about the container's content
➕ Add an Additional Field
You can add additional fields to your shipment view in two ways:
-
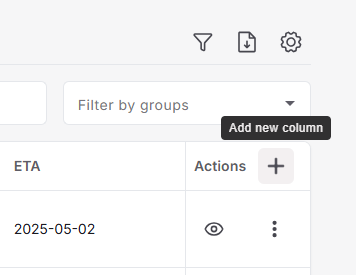
From the Shipment List
-
Click “Add new column” at the top of the shipment list.
-
-
From Table Settings
-
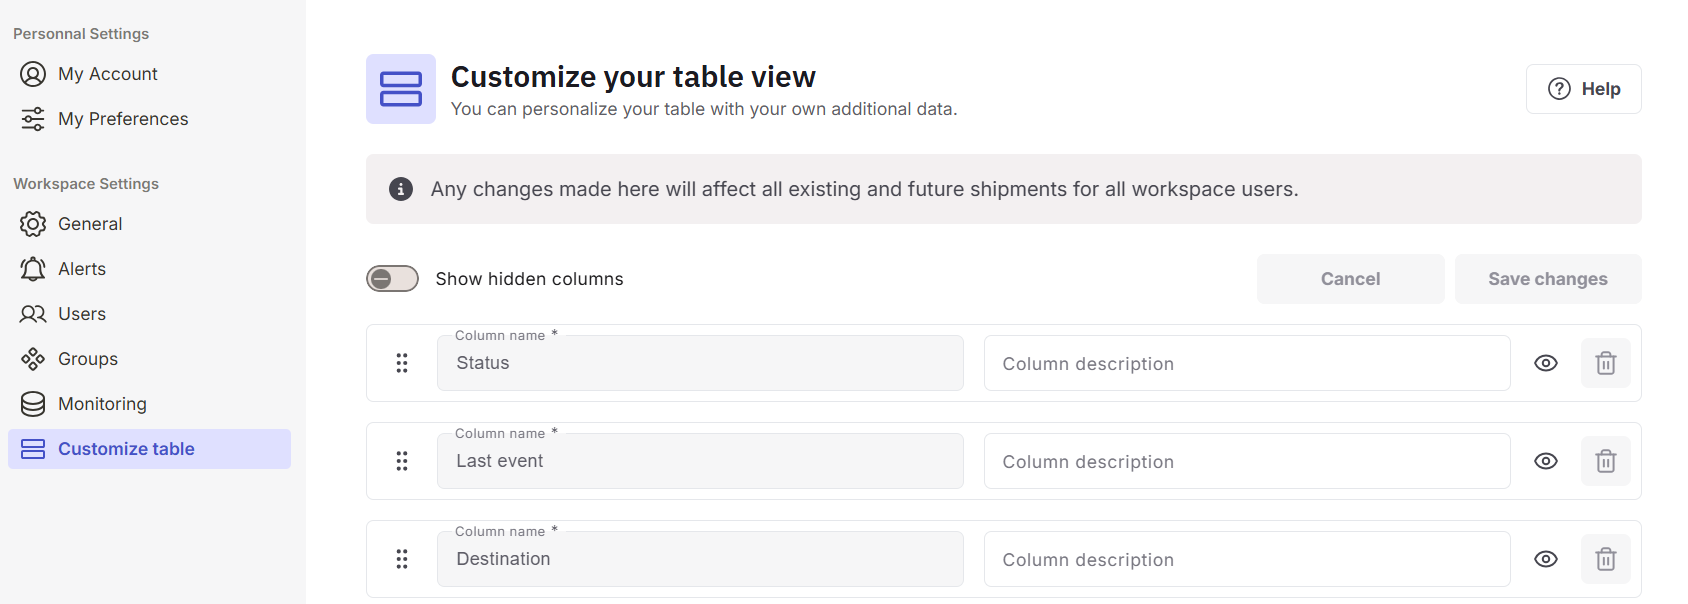
Go to Settings → Customize Table.
-
Click “Add field” to create a new one.
-
Click "Save changes" at the top of the list.
-
When creating a new field:
- Just give it a name.
- Optionally, add a short description — it will be displayed as a tooltip when you hover over the column or field name.
NoteThe new field will appear on the right side of your shipment table. You may need to scroll horizontally to see it.
You can rearrange columns in the shipment view to bring important fields closer.
✏️ Fill or Edit Field Values
To enter or modify data in an additional field:
- Simply click the field cell in the shipment list or in the shipment details.
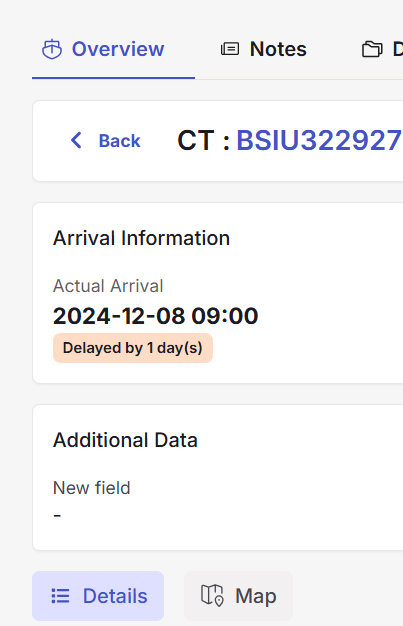
- If you are in shipment details, don't forget to click "Save changes" !
- This will enable quick and easy inline editing.
🗑️ Edit or Remove a Field
Need to make a change or remove an unnecessary field?
In Settings → Customize Table.
- Rename the field
- Hide the field (it will no longer appear in the shipment list or detail view)
- Delete the field entirely
Save changesDon't forget to save your changes with the button.
In the table view
Click the Column name to display the sub menu.
- Hide the field (it will no longer appear in the shipment list or detail view)
- Delete the field entirely
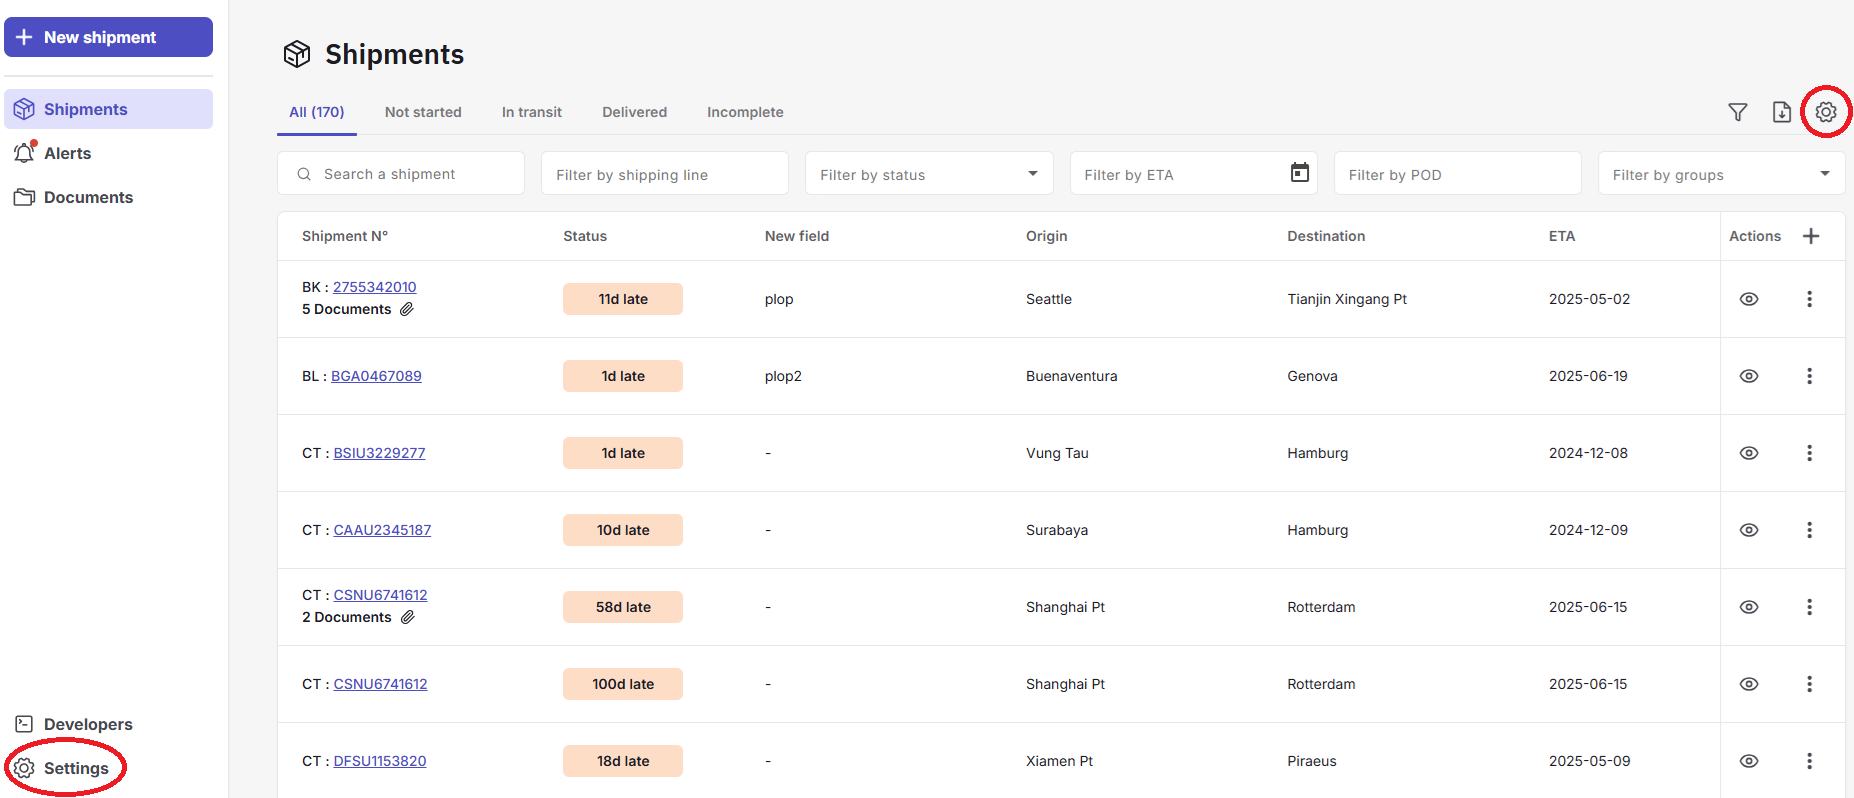
The table on the Safecube Home Page provides a quick overview of the shipments you are tracking. We call this the Shipment List View.
We understand that depending on your role in the logistics chain, the information you need can vary. Some users may need additional data, while others may prefer to simplify their view. That's why we offer flexible customization options.
Manage your Shipment View
You can customize your table settings from two places:
- Go to
Settings→Customize Table - Click on the ⚙️ (dented wheel icon)
- In the sub menu of each column : Click
Customize table
Note:Any changes you make will apply to all current and future shipments and will affect all workspace users.
Understanding the Column Management Interface
The customization interface shows all columns available in your workspace:
-
Greyed-out column names and delete buttons:
These are default system columns auto-filled by container tracking data. You cannot delete them, but you can hide them if not needed.
-
Fully greyed-out rows:
These are hidden columns. To view and manage them, toggle the "Show Hidden Columns" option.
What You Can Do
Here’s what you can customize in the Shipment List View:
- ✏️ Create, edit or delete additional data columns
You can also create columns directly from the table view by clicking on the ➕ icon.
-
📝 Edit columns name or descriptions
-
👁️ Hide or unhide columns
Click the eye icon at the end of each row to hide or show the column.You can also hide a column direcly from the table view. Click on the column header and select Hide column.
-
↕️ Reorder columns
Drag and drop columns to rearrange them. 💡This is especially useful if not all columns fit within your screen width.You can also drag and drop the columns directly in the table view
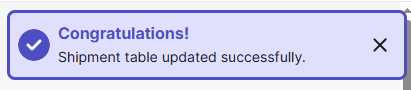
Save your changesIn the table view, a notification will appear to let you know that your change have been sucessful.
In the Settings, don't forget to save your changes with the Save Change button.